Maintenance Manual

While the Sprung structure requires very little maintenance in comparison to a conventional building, a small amount of periodic upkeep is required. In this section, we will cover how to maintain the membrane for maximum longevity, how to handle the critical process of adequate snow removal, and how to care for doors, openings and electrical components. 

It is important to follow the recommendations outlined in this section in order to sustain the quality and durability of a Sprung structure.

Note: The addition of aftermarket accessories to your structure—ones that are not supplied, tested and approved by Sprung Structures and are not installed under the supervision of a Sprung technical consultant— will render your guarantee null and void unless written approval is received from Sprung authorizing their use. 

The structure has been anchored at the site using one of the following methods:

Drift Pins/Earth Anchors

  • When the arches of the structures are in the required position, drift pins are driven into the ground at an angle through the holes in the base plate located inside the structure.
  • Periodic checks should be made to ensure the anchoring is secure.
  • The cables and rods on the earth anchors should also be checked periodically to ensure they are tight.
  • If your structure has an interior membrane and was erected using this anchoring method, please reach out to Sprung if it appears that the anchoring is not secure to the base plate. This can occur due to settling into the grade for various reasons. A service call may be required to access earth anchors that are covered by the interior membrane.
Drift pins on asphalt
Drift pins on grade

Concrete Anchors

  • Concrete anchors are used when the structure has been placed on a concrete footing, slab or similar structural material.
  • This anchoring system should be checked periodically to ensure the bolts are tight and secure.

Earth Anchors

  • Earth anchors are generally used in conjunction with drift pins.
  • They are located inside the base of the structure arch and driven into the ground.
  • When the earth anchor has been driven to a satisfactory depth, a cable is then attached to the arch using a turnbuckle.
  • Periodic inspection of the earth anchors should be carried out to ensure the cable remains taut by adjusting the turnbuckle. 
Rendering earth anchors and column base

While the membrane used in the Sprung structure was specifically developed to be very durable and offer exceptional life expectancy, small tears or rips can occur.

  • A visual inspection of the membrane should be carried out periodically to ensure there are no major tears or holes in the membrane.
  • If membrane damage occurs, patches can be applied with adhesive or heat-welded in place.
  • The extent of the damage and the type of membrane on your structure will determine which method of repair is best suited.


Repair Kits

  • Patch kits and handheld heat welders for repair can be obtained from your Sprung sales representative.
  • Tears larger than six inches should be fixed by a Sprung technical consultant.
  • A small repair kit is provided with your structure.


Exterior  Membrane

  • The Tedlar/Kynar (premium)  membrane is repaired using a special Tedlar film or a color-matched, premium vinyl decal. Download detailed instructions here.
  • The acrylic (regular) membrane is repaired using a tube of Loctite 454 adhesive with a membrane patch. Download detailed instructions here.
  • Minor pinholes in the membrane can be repaired by placing a small amount of silicon over the hole.
  • The Sprung 25 (premium) membrane is repaired using a tube of Loctite 454 adhesive with a membrane patch.  Download detailed instructions here.


Interior Membrane

  • The interior acrylic (regular) membrane is repaired using a peel-and-stick type of adhesive patch. Download detailed instructions here.
  • The area to be patched should be cleaned with isopropyl alcohol prior to patching.
  • Peel off the adhesive patch’s protective backing and gently massage the patch into place.
  • Minor pinholes in the membrane can be repaired by placing a small amount of silicon over the hole.
Interior/exterior repair kits
Exterior repair kit
Interior repair kit
Application of the sticky-back interior patch:
Application of repairing small tears or punctures on the exterior of a Sprung Structure with a heat gun and exterior membrane kit:

For maximum protection of the membrane, do not permit any objects or materials to rub against or come in contact with it.

Patching Procedure for Sprung 25

Step 1: Clean the area to be patched.

Step 2: Measure the size of the area to be repaired and cut the patch so that there are approximately two inches of excess material on each side (Figure 1).

Step 3: Mark the area that needs patching. With a pencil, and using the patch as a template, draw around the whole patch. Place masking tape around the stencil to frame the patch area. (Figures 2-4).

Step 4: Using 120- to 150-grit sandpaper, and applying medium pressure, remove the top clear coating of the TX-30. Sanding is complete when there is a noticeable difference of sheen in the sanded surface compared to the non-sanded surface (Figure 5).

Step 5: Set the seam sealer heat between five and seven on the temperature dial and allow the seam sealer a few minutes to warm up. The appropriate heat setting will depend on the type of membrane being repaired and the outside air temperature. Test your selected heat level on a piece of scrap membrane to see if more or less heat is required. Avoid setting the seam sealer too high, as excessive heat will cause rapid melting and may create further damage.

Step 6: Make sure the panel has no wrinkles and that any jagged edges have been trimmed. Center the patch over the hole (Figure 6).

Note: Before repairing, a firm backing such as plywood should be placed behind the area being repaired so that the patching area is well-supported.

Step 7: Hold the tip of the seam sealer at an angle about a quarter inch from the fabric, insert the nozzle between the patch and the panel, and follow behind with the roller, compressing the two materials together (Figure 7).

Step 8: Work quickly and carefully, making sure the entire area of the patch is sealed. Let the patch cool and ensure that it has properly laminated to the membrane. It should not come off when pulled lightly (Figure 7). Remove the tape (Figure 8).

Step 9: After the repair is completed, turn the seam sealer dial to the lowest setting and allow a few minutes for the unit to cool down (Figure 8). Failure to do so may cause damage to the seam sealer.

Figure 1
Figure 2
Figure 3
Figure 4
Figure 5
Figure 6
Figure 7
Figure 8

If washing the membrane is deemed necessary, a non-butyl soap or detergent may be used. Agitation with a soft brush will assist in removing film on the surface.

Warning: At no time when washing is in progress should any person stand on the wet fabric surface without proper fall protection.

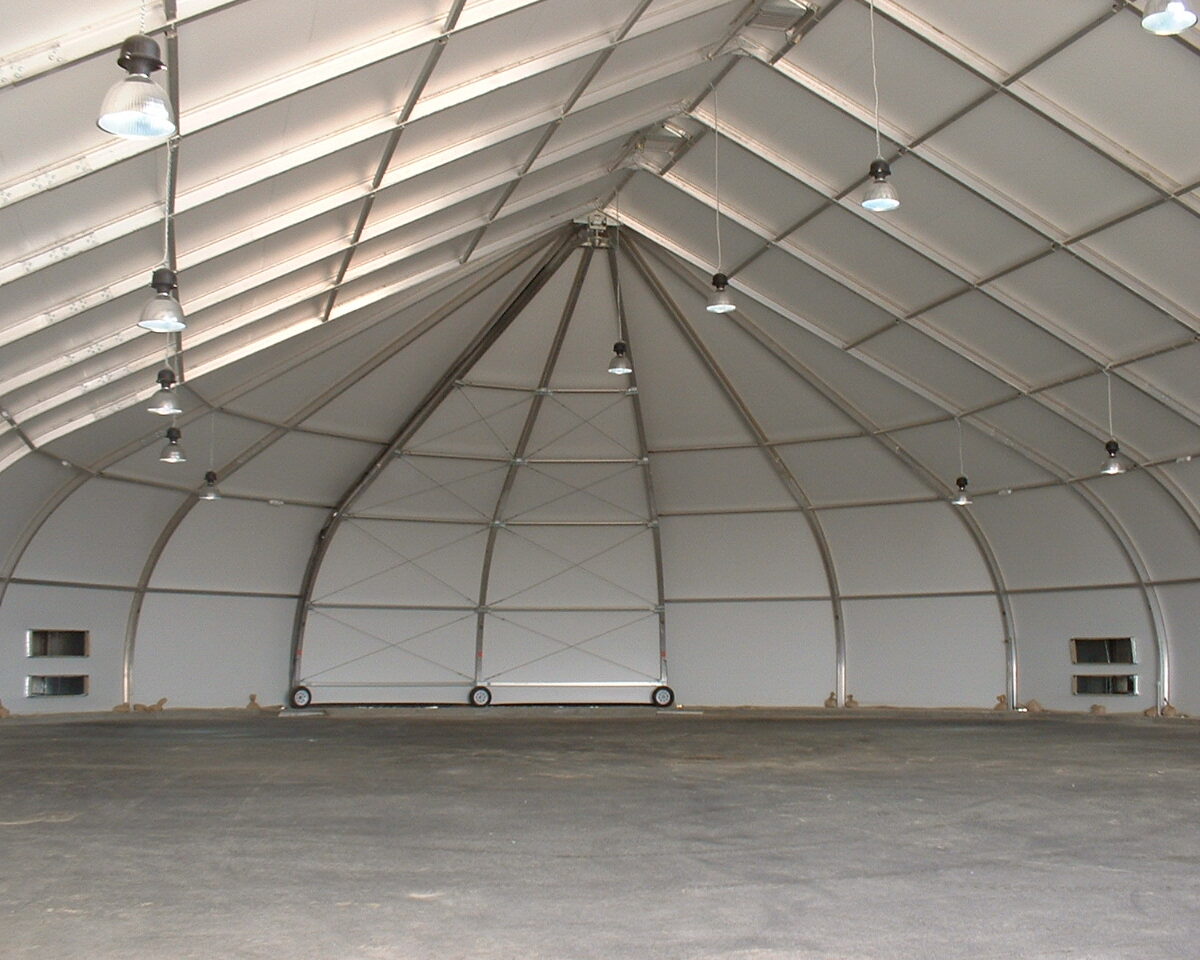
Suggestions for Cleaning Sprung’s Interior PVC Coated Membrane

Sprung’s interior membrane comes with a PVC surface protection that enhances its cleanability. In the event dirt and/or stains develop on the surface of the membrane, a non-butyl soap or detergent such as Dawn Dish soap with a soft cloth or brush is recommended. If the soap is not effective, the following list of products can also be used for cleaning.

Recommended cleaning products:

  • Mr. Clean ® (both cleaner and magic eraser)
  • Fantastik ®
  • Simple Green ®

For stains, Isopropyl Alcohol is a good option

How to use:
  • Dilute the cleaning solution with water, using a 1:1 ratio.
  • Apply the mixture with a sponge or cloth, or spray it directly onto the membrane.
  • Allow the cleaner to penetrate briefly.
  • Rinse or wipe off with a damp cloth.

Be sure to wipe off all cleaners and residue. Repeat the above procedure as necessary. Please follow all the safety precautions and suggestions on the labels of any commercial cleaners being used.

Note: Solvents or acetone-based products should NEVER be used on this type of membrane.


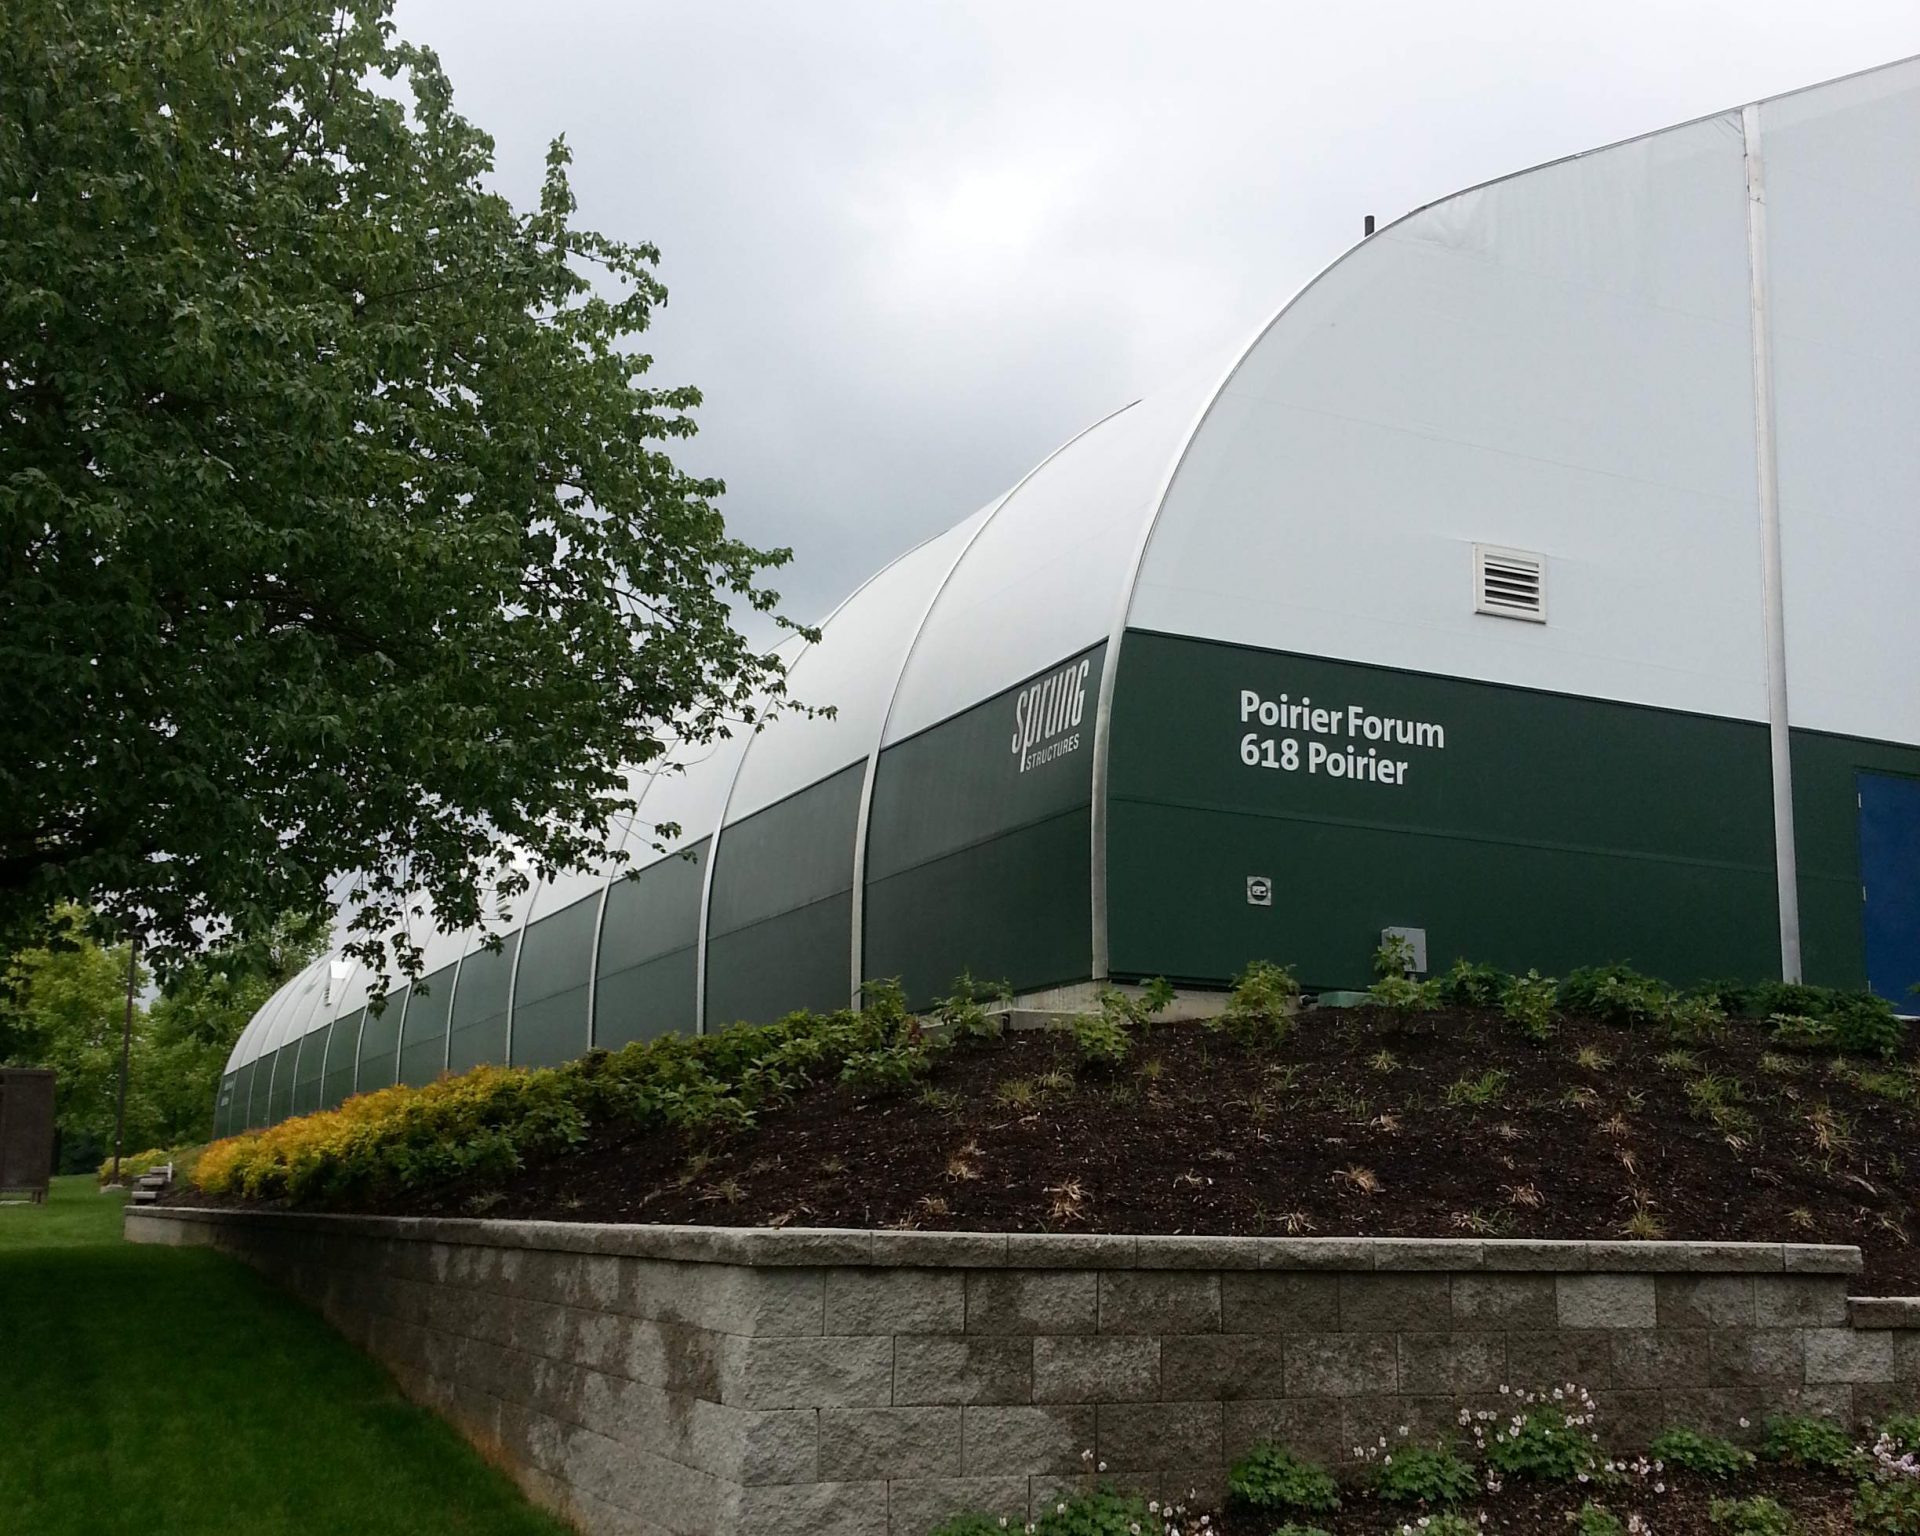
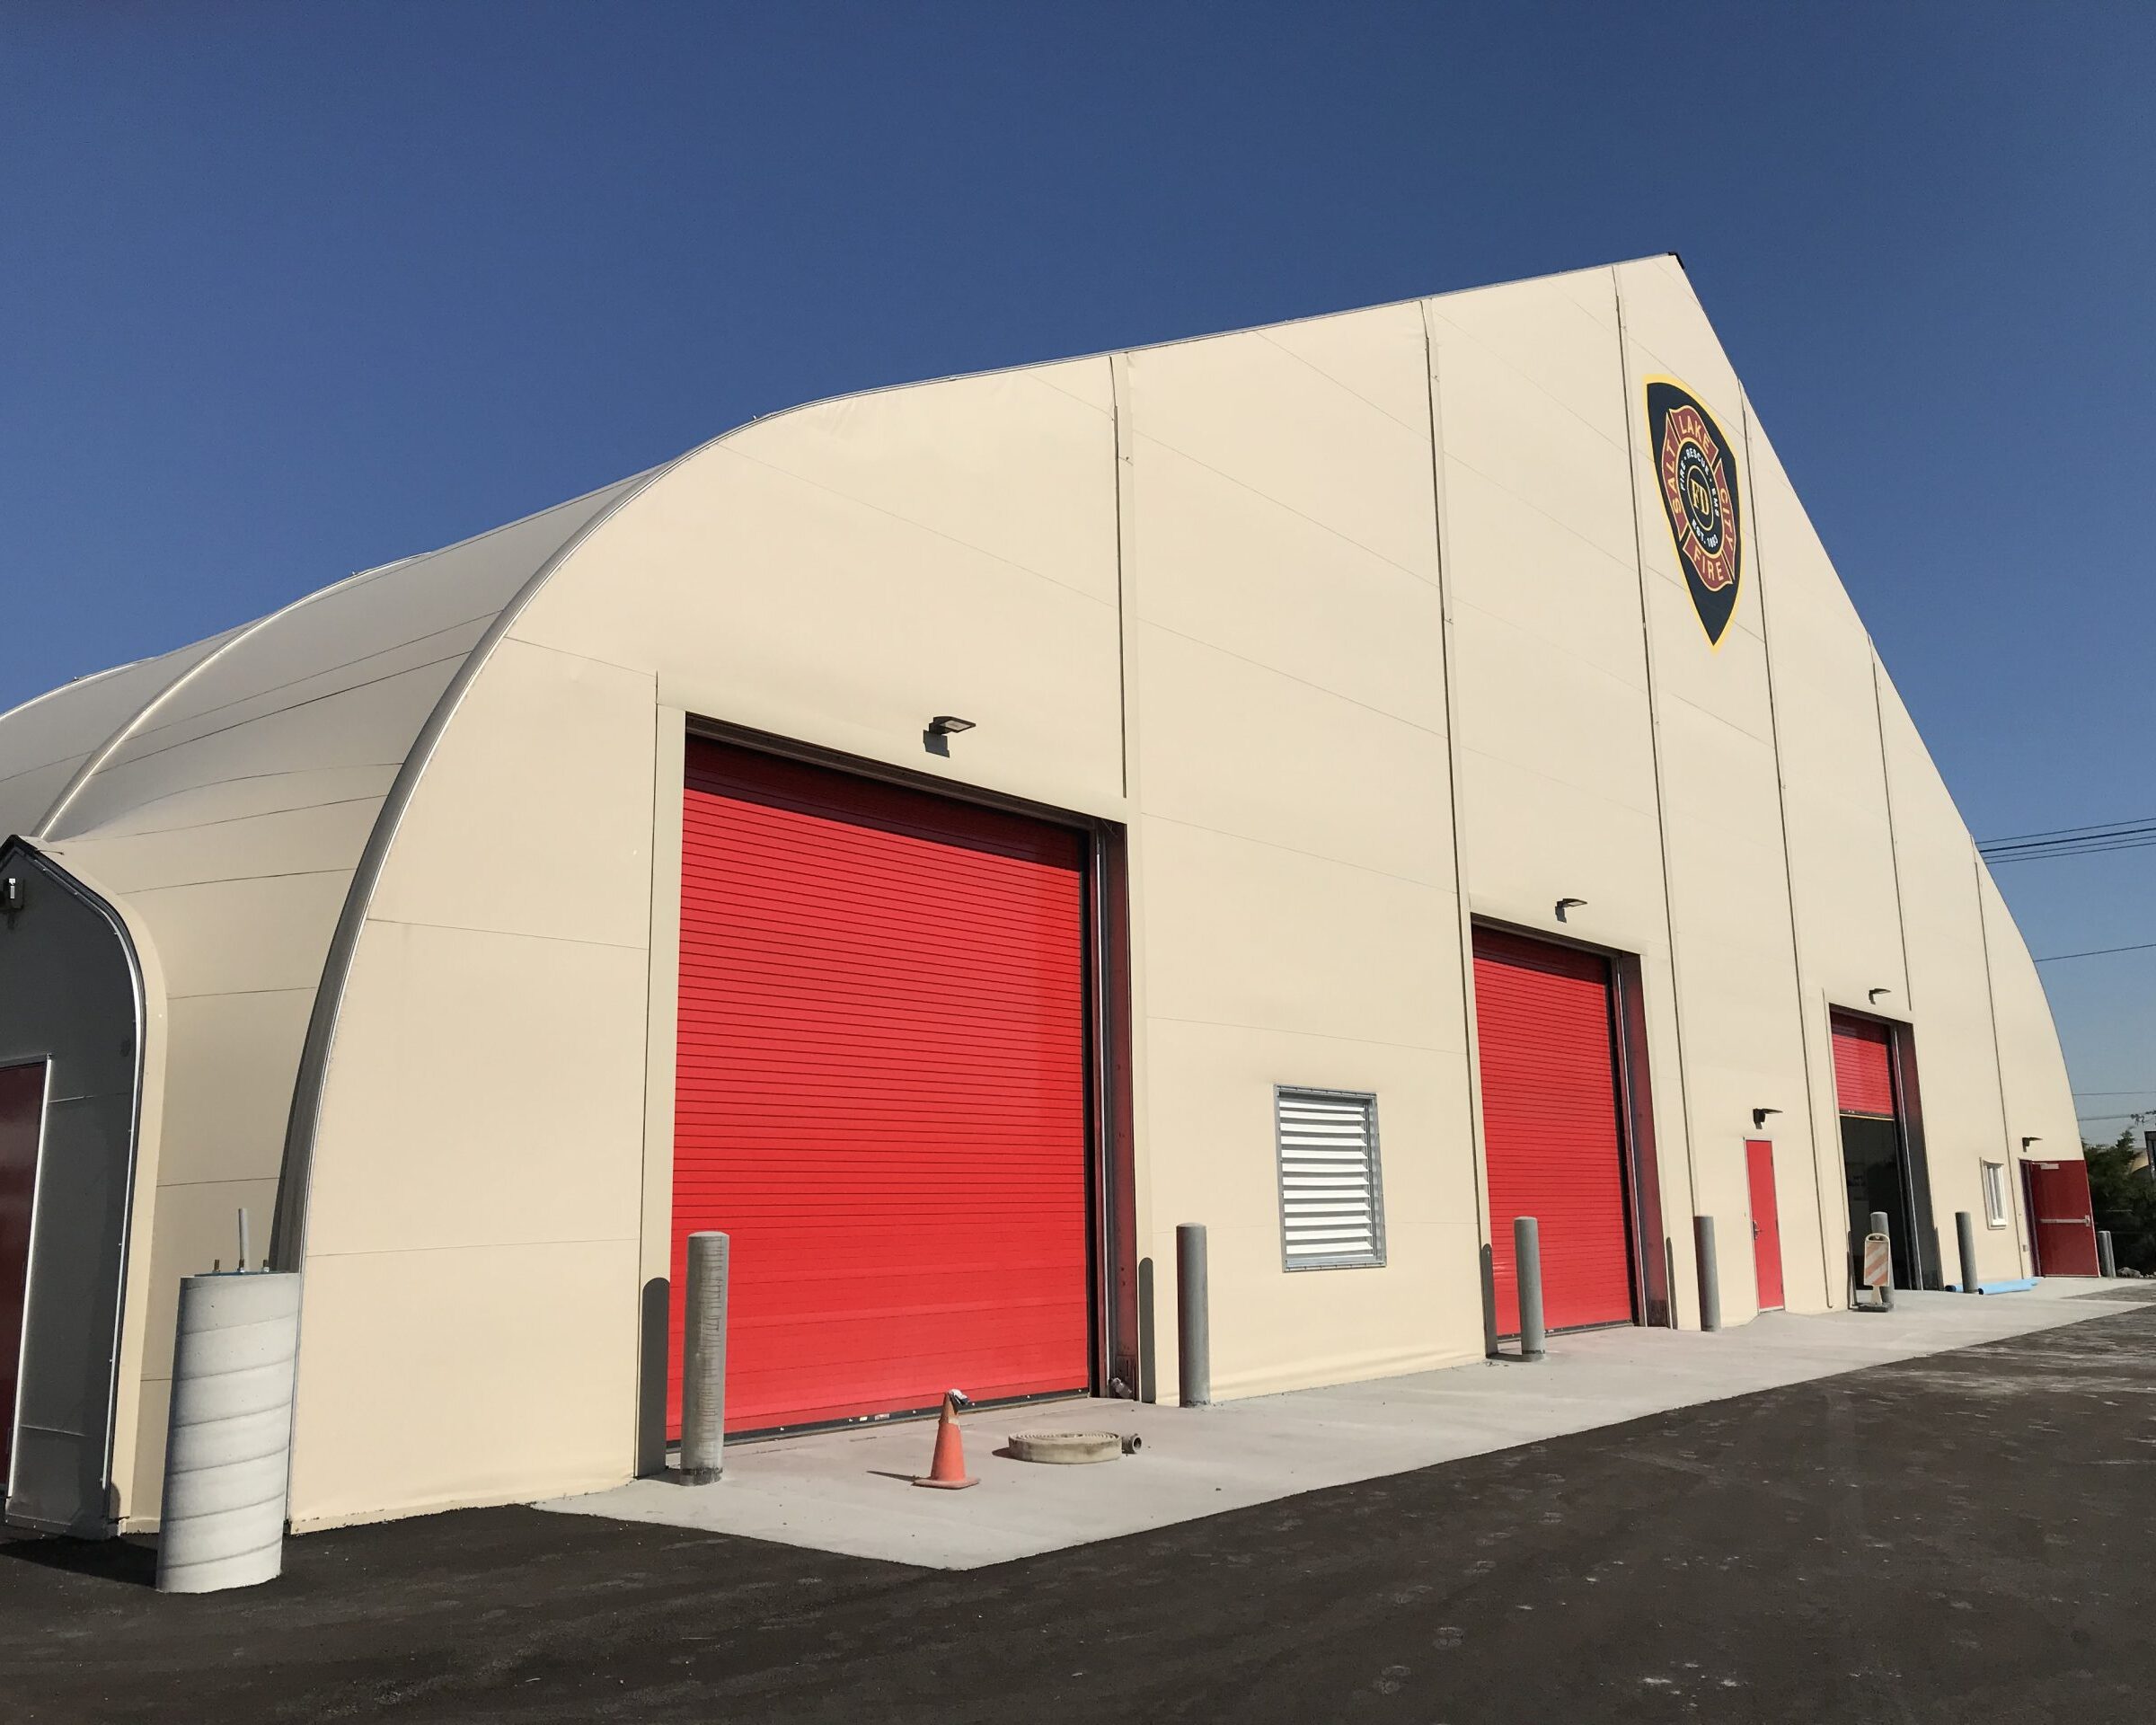
Suggestions for Cleaning Sprung 25 Exterior Membrane

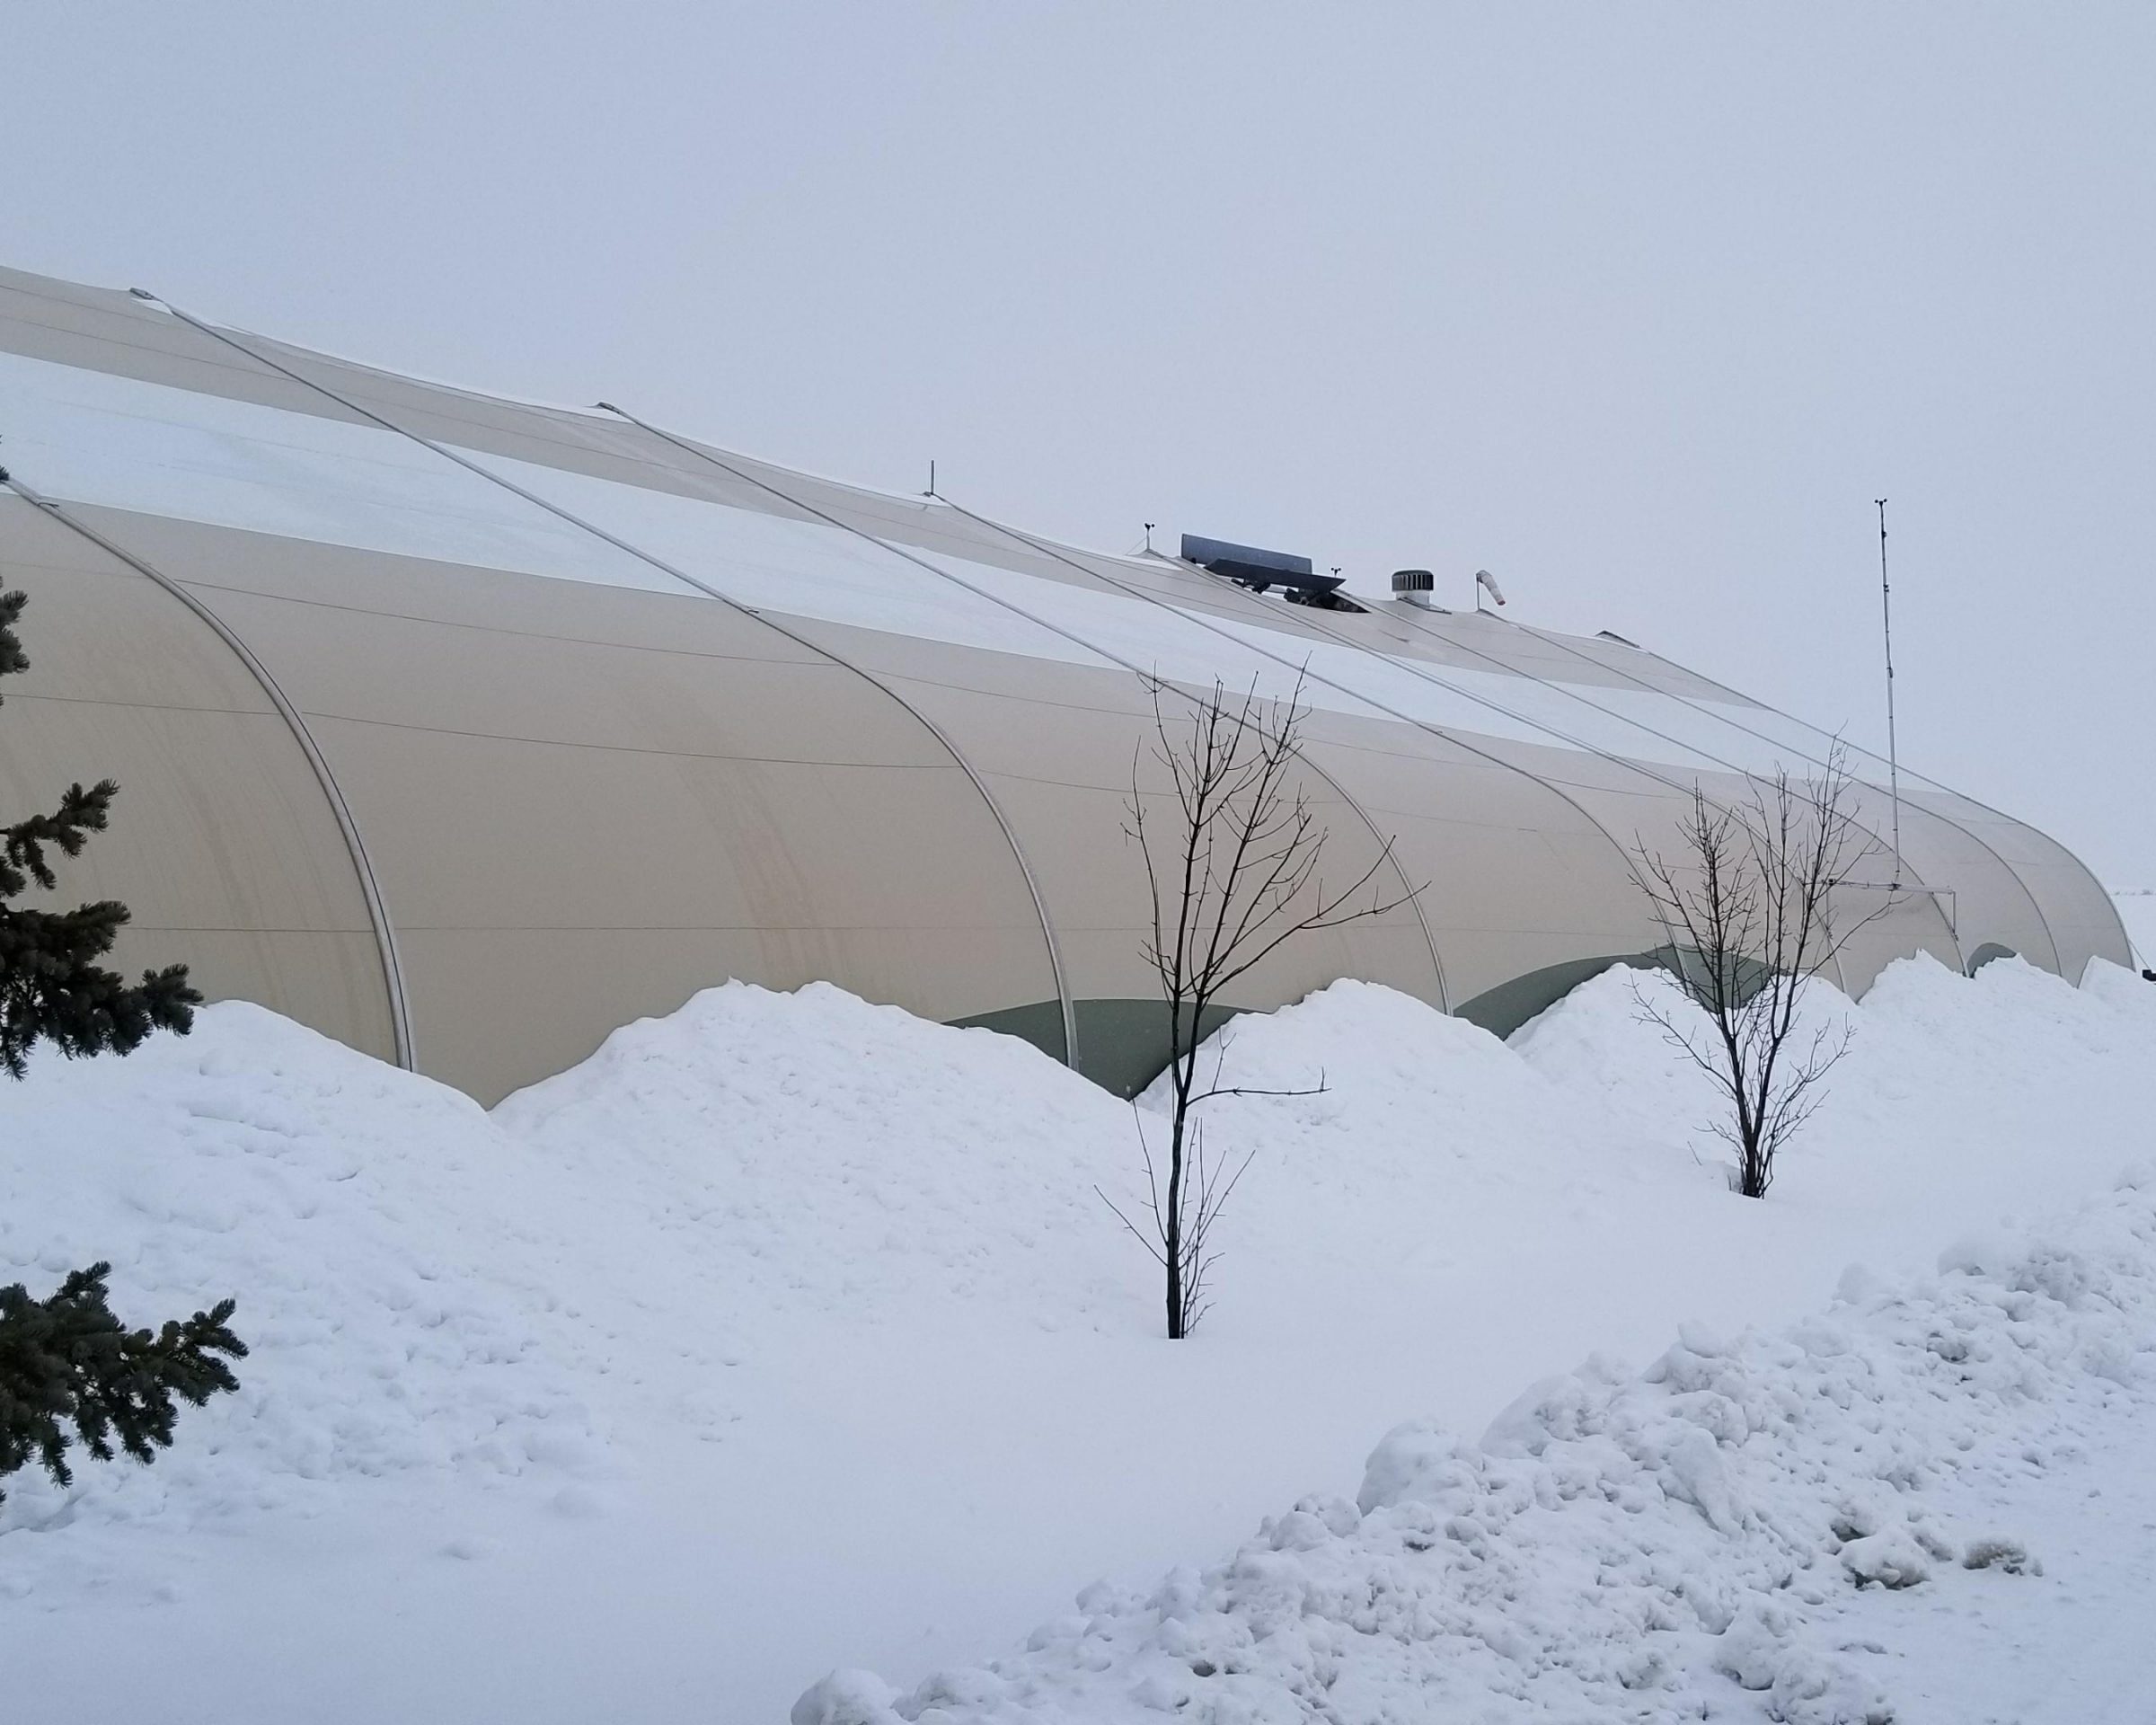
Specially constructed for enhanced longevity, Sprung 25 membrane is easy to clean and maintain. This membrane features a PVDF CROSSLINK topcoat applied in a high percentage to protect against UV degradation, dirt accumulation, and air pollution. This topcoat in combination with the precontraint technology used in the manufacturing process of the membrane creates a smooth exterior surface with a lower friction co-efficient minimizing dirt and making it easier to clean.

Most airborne dirt does not adhere to Sprung 25 membrane. If soiling does occur (usually in environments with high concentrations of airborne particulate matter), please follow these instructions:

  • Use water and a soft brush, mop, sponge, or other suitable manual item to clear away soiling. For maximum effectiveness, a non-aggressive brush with nylon bristles is recommended.
  • For heavier soiling, combine lukewarm water with Dawn dish soap using the same methods as above.
  • For extreme soiling, a water pressure driven rotating brush can be combined with soap and water. Brush should be non-aggressive with nylon bristles combined with a water flow rate between 10L/min to 15L/min.
  • When soap is used, ensure the surface is rinsed after with lukewarm water.

Note: No abrasive materials, high pressure water cleaners, sharp materials, or solvents can be used to clean the membrane.


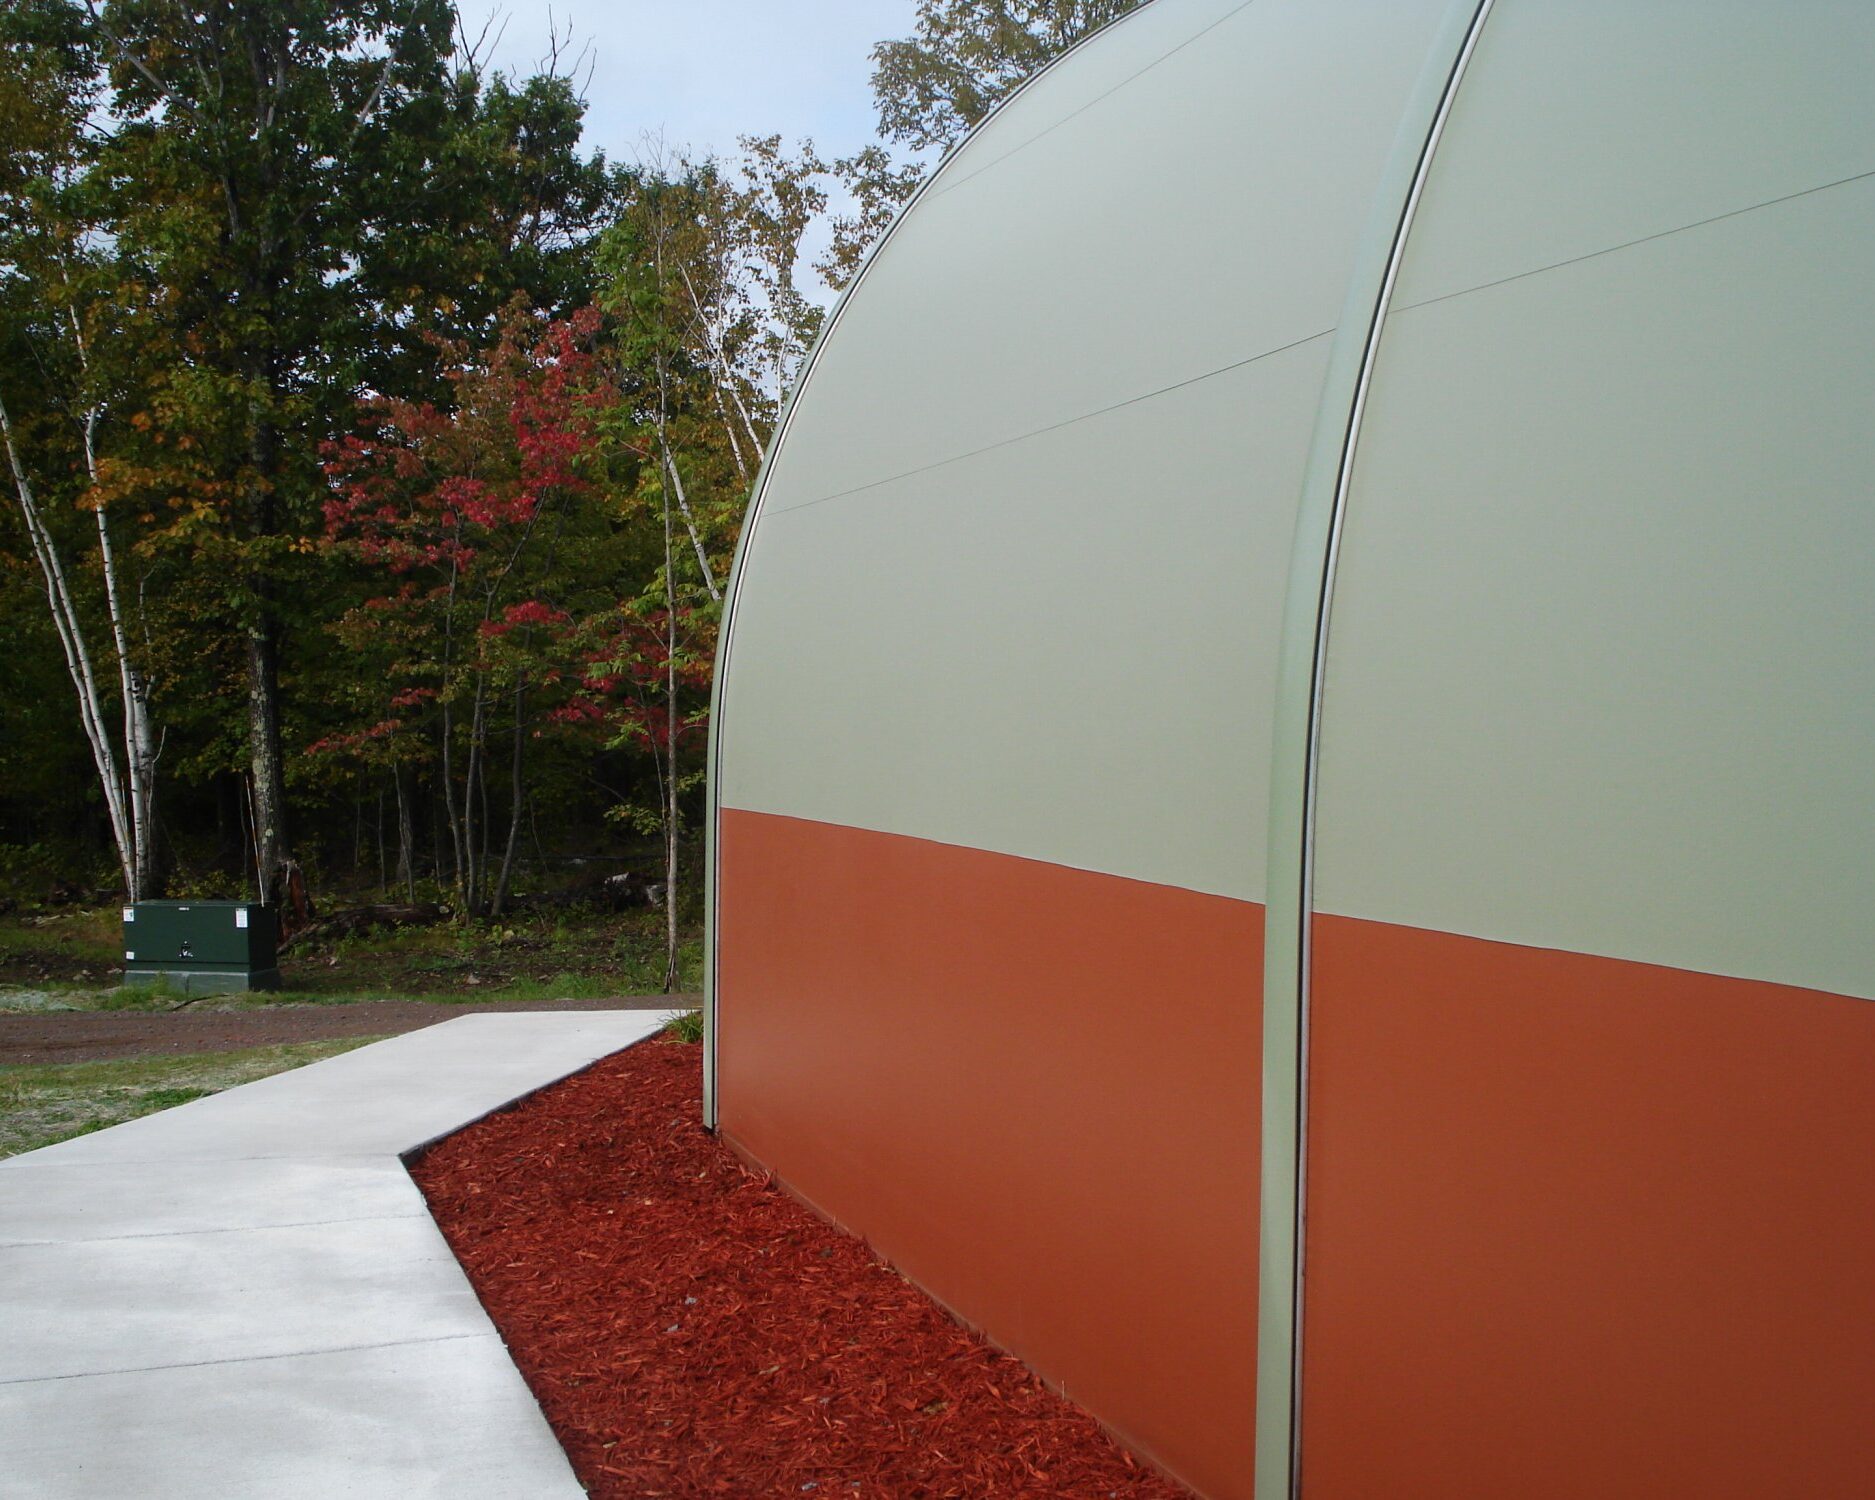
Suggestions for Cleaning Sprung 15 Exterior Membrane

Sprung 15 membrane features an Acrylic/PVDF topcoat that protects against UV degradation, dirt accumulation, and air pollution. This topcoat, in combination with the precontraint technology used in the manufacturing process of the membrane, creates a smooth exterior surface with a lower friction co-efficient minimizing dirt and making it easier to clean.

Most airborne dirt does not adhere to Sprung 15 membrane. If soiling does occur (usually in environments with high concentrations of airborne particulate matter), please follow these instructions:

  • Use water and a soft brush, mop, sponge, or other suitable manual item to clear away soiling. For maximum effectiveness, a non-aggressive brush with nylon bristles is recommended.
  • For heavier soiling, combine lukewarm water with Dawn dish soap using the same methods as above.
  • For extreme soiling, a water pressure driven rotating brush can be combined with soap and water. Brush should be non-aggressive with nylon bristles combined with a water flow rate between 10L/min to 15L/min.
  • When soap is used, ensure the surface is rinsed after with lukewarm water.

Note: No abrasive materials, high pressure water cleaners, sharp materials, or solvents can be used to clean the membrane.


Suggestions for Cleaning the Polyurethane Coated Membrane

Sprung’s polyurethane coated membrane is formulated to provide years of performance. It includes a polyurethane surface coating to enhance its cleanability and extend its longevity. In the event dirt accumulates on the surface of the membrane, periodic cleaning will help keep the structure aesthetically pleasing and extend the life of the membrane. Typically, a non-butyl soap or detergent such as Dawn dish soap with water and a soft cloth or brush will clean the membrane. If the soap is not effective, the following list of products can be used for cleaning.

Recommended products:

  • Mr. Clean ® (both cleaner and magic eraser)
  • Fantastik®
  • Simple Green ®

Note: All of these cleaners do a good job of removing dirt and do not harm the premium fabric.

Note: Solvents can be used for spot removal, but should NOT be used for general cleaning. Solvents or acetone-based products should never be used directly on polyurethane top-coated vinyl fabrics.

How to use:
  • Dilute the cleaning solution with water, using a 1:1 ratio.
  • Apply the mixture with a sponge or cloth, or spray it directly onto the vinyl.
  • Allow the cleaner to penetrate briefly.
  • Rinse or wipe off with a damp cloth, or use a medium-pressure spray gun.

Please make sure to wipe off all cleaners and residue. Repeat the above procedure as necessary. Be sure to follow all the safety precautions and suggestions on the labels of the commercial cleaners.

Note: Solvents can be used for spot removal, but should NOT be used for general cleaning. Solvents should never be used directly on a vinyl-coated membrane with acrylic topcoat.


Suggestions for Cleaning the Tedlar Coated Membrane

Specially constructed for longevity, Sprung Tedlar coated membrane is easy to clean and maintain. This membrane features a fluoropolymer coating that is recognized worldwide for its outstanding weather-resistance, inertness, and non-staining properties. When the film is laminated to a polyvinyl-based fabric, it provides unsurpassed protection against soiling and weathering. The film helps keep outdoor vinyl fabrics looking newer for longer. It fights fading, resists discoloration, and keeps fabric clean.

Most airborne dirt does not adhere to Tedlar. If soiling does occur (usually in environments with high concentrations of airborne particulate matter) simply clean with a non-butyl soap or detergent such as Dawn dish soap and water with a soft cloth or brush. Spot cleaning can also be accomplished with one of the following products.

Recommended products:

  • Mr. Clean ® (both cleaner and magic eraser)
  • Fantastik®
  • Simple Green ®

Note: All of these cleaners do a good job of removing dirt and do not harm the premium fabric.

Note: Tedlar is solvent resistant. Stubborn items, such as painted graffiti, can easily be removed with common solvents or paint removers without damage to the film. Only utilize solvents for spot cleaning, not for general purpose cleaning.

How to use:
  • Dilute the cleaning solution with water, using a 1:1 ratio.
  • Apply the mixture with a sponge or cloth, or spray it directly onto the vinyl.
  • Allow the cleaner to penetrate briefly.
  • Rinse or wipe off with a damp cloth, or use a medium-pressure spray gun.

Please make sure to wipe off all cleaners and residue. Repeat the above procedure as necessary. Be sure to follow all the safety precautions and suggestions on the labels of the commercial cleaners.


Suggestions for Cleaning the Kynar Coated Membrane

Sprung’s Kynar coating expands the color options for your structure while still providing a surface that is easy to clean. The PVDF topcoat incorporated with the unique color coating protects against UV degradation and airborne contaminants, dramatically extending the life of the membrane.

Most airborne dirt does not adhere to the Kynar coating. If soiling does occur (usually in environments with high concentrations of airborne particulate matter) simply clean with a non-butyl soap or detergent such as Dawn dish soap and water with a soft cloth or brush. Spot cleaning can also be accomplished with one of the following products.

Recommended products:

  • Mr. Clean ® (both cleaner and magic eraser)
  • Fantastik®
  • Simple Green ®

Note: All of these cleaners do a good job of removing dirt and do not harm the premium fabric.

Note: Solvents or acetone-based products should NEVER be used on this type of membrane.

How to use:
  • Dilute the cleaning solution with water, using a 1:1 ratio.
  • Apply the mixture with a sponge or cloth, or spray it directly onto the vinyl.
  • Allow the cleaner to penetrate briefly.
  • Rinse or wipe off with a damp cloth, or use a medium-pressure spray gun.

Please make sure to wipe off all cleaners and residue. Repeat the above procedure as necessary. Be sure to follow all the safety precautions and suggestions on the labels of the commercial cleaners.

The Sprung structure is designed to shed snow. If the structure is in a region where it will be subjected to snowfall, it is necessary to keep the sides of the structure clear to allow for ongoing shedding action. Timely removal of snow built up around the perimeter is needed.

During a large, multiday snow event, snow should be cleared from the structure perimeter in intervals. This will help prevent snow from building up high up on the wall of the structure. Lack of prompt removal from the perimeter may result in snow setting up on the roof of the structure. Once this occurs, the snow on the roof of the structure may not readily shed when the perimeter is later cleared. At that point, manual removal of snow from the roof may be needed.

Pro Tip

Snow accumulation on the roof of the structure will only happen if snow is not cleared from the perimeter in a timely manner, or if an object is placed on, near or against the structure, inhibiting the shedding action. The structure is designed to support a minimal roof load, and accumulation of snow on the roof can cause damage to the structure.

If snow stays on the roof of your structure, please contact Sprung Structures at once for instructions for its safe removal. Care must be taken so as not to damage the membrane. Keep personnel off the roof of the structure.

Snow should be cleared from the roof using lifts. In such an event, the structure should not be occupied until the snow has been successfully cleared from the roof.

Like conventional structures, the Sprung structure must be maintained to ensure that it will continue to perform well over the winter months. The following will need to be considered:

  1. The perimeter of the structure (sides) must be kept clear to allow for an area around the structure where the snow can shed. Items such as fencing, planters and pergolas must not be placed in these areas.
  2. Equipment, pipe racks, small buildings and HVAC units should not be placed directly adjacent to the structure. This will impact the snow shedding/release from the structure and interfere with the clearing of the snow from the perimeter.
  3. As snow builds up around the structure perimeter, it will be necessary to keep the sides of the structure clear to permit the ongoing shedding action. Timely removal of built-up snow around the structure perimeter is required.
  4. The arches can be clearly marked using a decal, which will provide a visual reminder of when the snow must be cleared from the perimeter of the structure.
  5. Care must be taken when removing the snow from the structure perimeter so as not to damage the membrane with snow shovels and/or snow-clearing equipment.
  6. Because Sprung structures readily shed snow, it is important to keep a watchful eye for sliding snow while clearing the perimeter base.
  7. A snow maintenance plan for the structure is recommended.
  8. IMPORTANT: Should snow ever accumulate on the roof of your structure, please contact Sprung Structures immediately for instructions for its safe removal. Typically, snow accumulation occurs because snow is not cleared from the structure perimeter, or when an object placed on or near the structure is inhibiting shedding action. The structure roof is designed to support a minimal roof load, and large accumulations of snow on the roof can cause damage to the structure.
  9. Any sidewalks placed adjacent to the structure should be marked to inform individuals to watch out for shedding snow. Care should also be taken not to park vehicles in parking areas adjacent to the structure during snow events. Sidewalks and parking lots should be situated at least eight to ten feet away from the structure, depending on the ground snow load.
  10. Mechanical units should be placed a short distance away from the structure and may require some protective shielding. Depending on the design snow load, it is recommended that mechanical units affected by snow be placed a minimum of eight feet away from the structure.
  11. A yearly inspection of the structure, after each winter season, is recommended.
Example of snow shedding that needs to be removed
Example of proper snow removal
  • General landscaping design should allow for proper water diversion and drainage.
  • Door entryways should include slight slopes and drains to prevent water from migrating into the structure.
  • Care should be taken when using a weed wacker or lawnmower near the membrane, as damage may result.
  • All doors should be inspected and maintained regularly. 
  • Cleaning, oiling and servicing will help to keep doors functioning properly.

Personnel Doors

  • Doors should be free from any obstructions on entering or leaving the structure.
  • The anchoring system on the door threshold should be checked periodically to ensure that it is secure.
  • Hinges, locks and panic hardware should be serviced on a regular basis.

Sliding Doors

  • The area where the doors are located and the direction in which they open should be free of any impeding materials.
  • A regular check and servicing of the top wheel, track assembly and bottom wheels will keep each sliding door in good working order.
  • Checking the neoprene seal for wear or damage is also advisable.
  • When the door is in the open or closed position, chain locks must be in place.

Double Panel Rolling Doors

  • These doors, located at the end of a structure, operate in a fashion similar to side sliding doors. The difference is at the top, where a hinge pivot arrangement replaces the track.  This allows the door to travel in either direction.
  • An inspection of the hinge assembly is required to ensure the bolts are secure.
  • Servicing the spindle should be carried out periodically.
  • The door must be secured with the chain locks when not in use.

Telescoping Hanger Doors

  • Before each use of the hangar door, the lower track system should be inspected for wear and debris.
  • A periodic visual inspection of the upper truss system, with emphasis on the door tracks, should be undertaken.
  • If the upper trolleys have grease fittings, these should be serviced when required.

Rolling Service Doors

  • We recommend that a local dealer from a rolling service door company look after your doors and maintain them.
Recommended maintenance intervals below:

Sectional Doors

Monitor and Controls

  • The sectional door operators are sealed units, as are the bearings. No scheduled maintenance is required, other than periodic inspections.
  • The control enclosures are manufactured and assembled to NEMA 4 ratings. They should remain closed at all times. 
  • The optic sensors are all-weather and rubber-enclosed. They are also shock-resistant, but should be protected from hard impacts that may bring them out of alignment.
  • The backup battery system (optional) has an approximate life expectancy of three to five years. After a period of three years, the batteries should be serviced.

Moving Parts

  • All door hardware, as well as the rollers, are stainless steel or galvanized.
  • The rollers and bearings should be lubricated with silicone spray every four months, taking care not to overspray on the adjacent structure membranes or polycarbonate door panel inserts.
  • A cursory visual inspection of the drive cable and door system should take place on each cycle of the door.

Door Panels

  • The door frames are anodized aluminum.
  • They should not be exposed to any strong bases or ammonia.
  • The door panels are impact-resistant but could sustain scratches if cleaned with abrasives. Cleaning should be done with mild soap and water.
  • When designing an HVAC system for any type of building, it is important to ensure that this system takes in more air than is being exhausted at any given time. 
  • This process will result in a positive pressure being maintained.
  • If negative pressure exists within the structure, it will be difficult to open doors, and moisture will be drawn into the structure. 
  • It is important to periodically inspect any flashing/caulking around ductwork to make sure water isn’t entering the structure.